

As is normal in any business, your team will be required to work on documents together. With Teams, you can easily share files and documents, and work on them together. The most popular documents are typically Word, Excel, PowerPoint and PDF. By now, you’re already familiar with channels and teams from our previous issues. Each channel, team and chat its own file folder where you can share and view files. The files library can be seen above the conversation window:

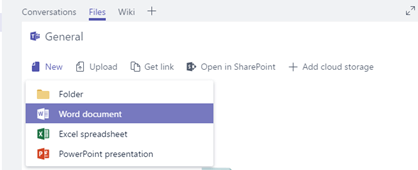
Here you can upload files that you already have or choose to create new ones. When uploading a file, Teams will automatically create a copy in the library.
To upload files, you can choose between two different ways. First, go the files folder in your channel or chat and choose to either:
1. Normal upload – click on the upload button, choose the file of your choice and then click open.
2. Drag and Drop – simply click and drag the file from its current destination and drop it in the Teams files window.
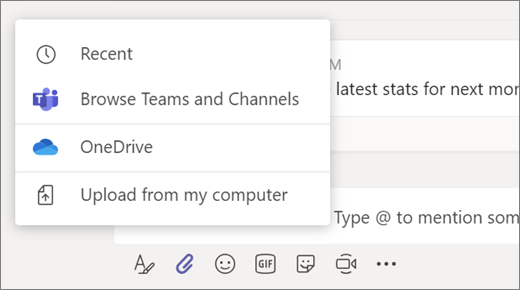
To share a file when you’re in the chat or posts window, click on the paperclip icon and choose to either upload a new document or one from your files library
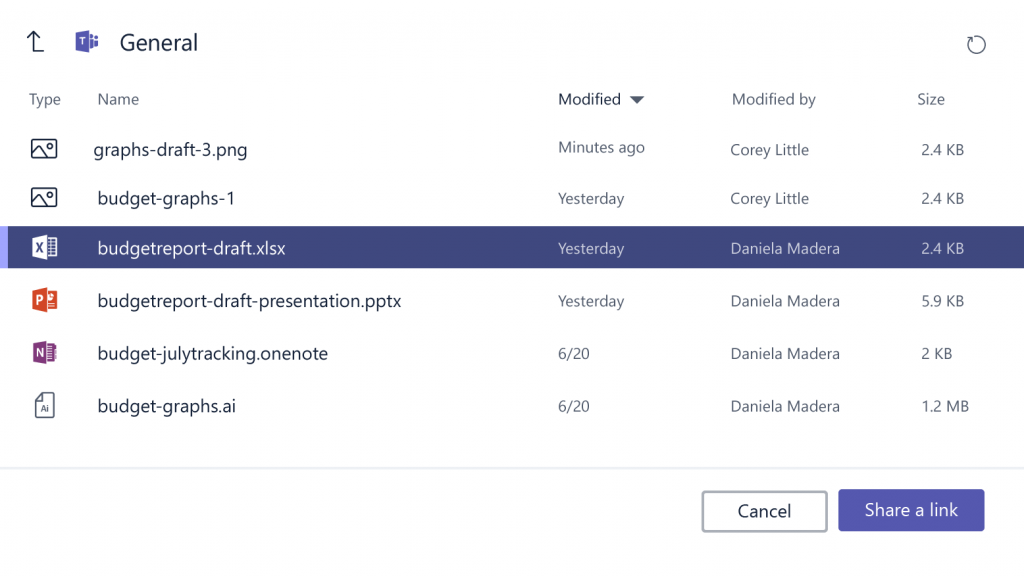
You can also choose to share a file with your team with a link. This is perfect for when you’re still discussing the work and don’t want to leave the chat. Click on the Browse Teams and Channels button, choose the file of your choice and click on Share a link.
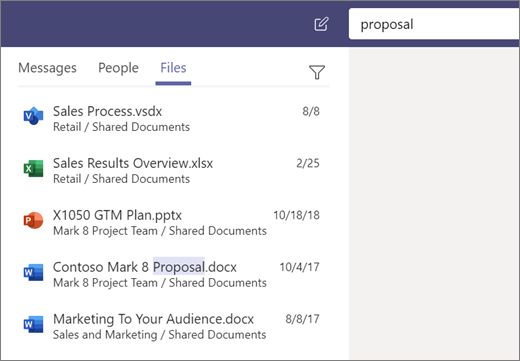
If your team has quite a lot of files, it can be time-consuming to go through all of it. That’s not a problem as you can just search for the file you want in the search box. Type the name of the document and it will highlight it for you, for easier access.
When a file has been shared or uploaded, you and your team can work and edit the documents together directly from teams. This eliminates the possibility of having duplicate copies as the changes will automatically merge in the same document as you work. Let’s see how this works.
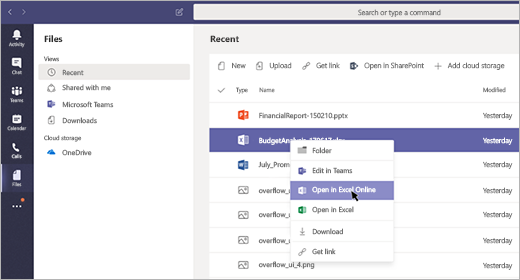
First, you can have to select the document from the files as mentioned above. When you open that document, it will already be in edit mode and you can begin straight away. You will then have to option to either edit the file in Teams, or if the file is from an Office app you can edit it from there.
Simply right click on the file in the chat or under the files folder or click on the more options button (…)
When you’re in the edit mode in Teams, you will have four tools to choose from. These tools are in the top right corner and include:
Comments – the same as in any Office app, here you can leave comments for later edit or reviews.
Conversation – this will bring up the chat and discussion that you were having about the file, on the right-hand side of the document.
More options (…) – this is where you can choose to download the file or open it in your browser.
Close – this is for when you’re done editing and would like to close the document and go back to where you were.
Although the next two sections are not part of Teams integration, they are still very handy tools to have for team collaboration.

Many of us use PDFs in our workplace as a read-only document, but sometimes we need to fill out a certain section or sign a PDF document by typing or drawing your signature. With Adobe’s Fill and Sign tool, it makes it easy for you to do exactly that, from your desktop, browser, or mobile device.
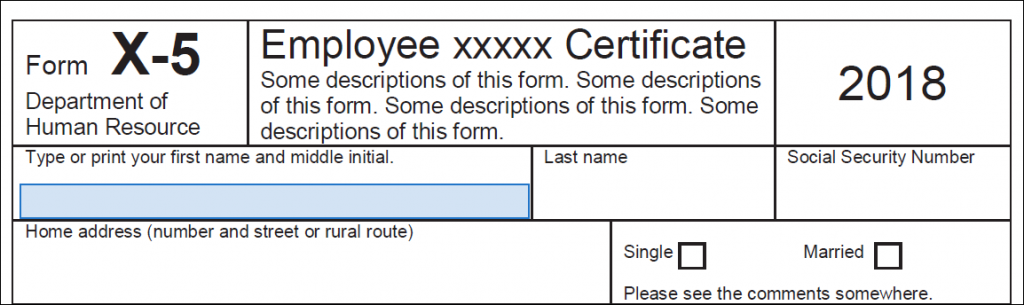
Flat form – this PDF does not include interactive fields, but rather empty fields where you can fill in text and other symbols. The Fill and Sign tool will automatically detect which form fields are available for you to use.
Step 1 – Open the PDF using Acrobat or Reader
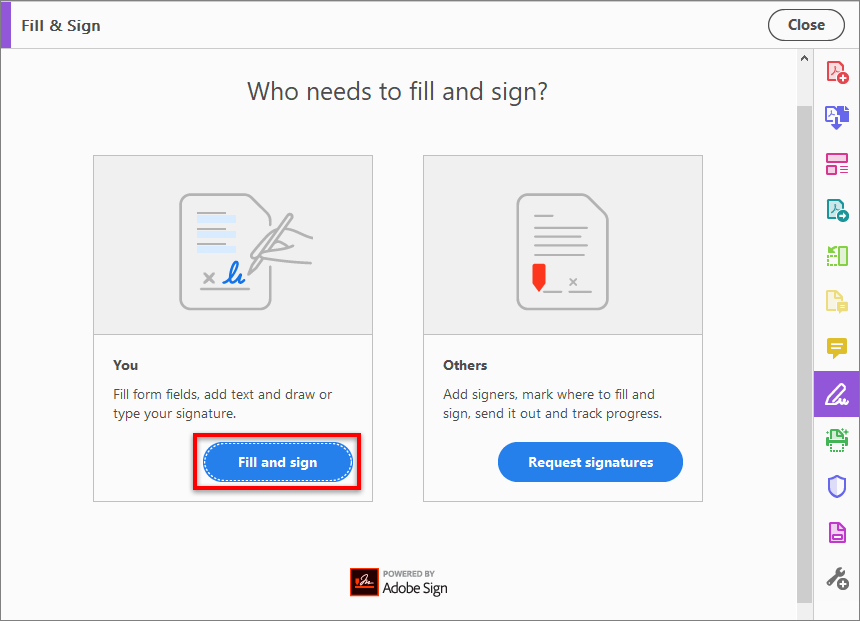
Step 2 – Click the Sign icon in the toolbar, as shown in the image below.

Step 3 – Click Fill and Sign from the options provided
Step 4 – Choose the colour of your choice from the colour circle button.

Step 5 – Find the form fields within the form and click inside the blue box to type in your text.
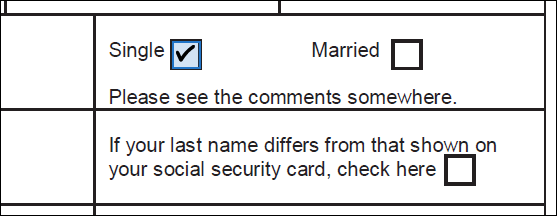
The same applies for available checkboxes.
If you do not see a blue box, you can add your own text by clicking on the Add Text button in the toolbar. Simply click on the area that you wish to add the text and your own blue box will appear.

Step 6 – You can add symbols or annotations such as Checkmark, Crossmark, Circle, Lines etc., by clicking on an annotation within the toolbar and choosing where on the form you would like to place it.

You can follow the same 4 steps as shown above to get to the Sign icon as shown below:
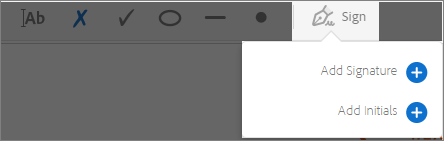
Next, choose between adding a signature or just your initials to the form. You will then see the Signature or Initials panel, where you can choose to type, draw, or import a signature image as shown here:

Once you have created your signature or initial, it will be saved as a Sign option to use for next time. If you would like to move the signature or initial, or resize or delete it, you can do so by using the options int the field toolbar.
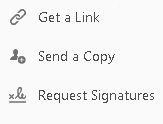
Once you have completed the above steps, simply click on the next button and choose between the three options to either send a link, send a copy or to request a signature from others:
Download Adobes Fill & Sign Tool here:


In the previous issue, we mentioned using Office Lens from your mobile device. Lens lets you scan and take pictures of printed documents, whiteboards or business cards, and enhances the image to make it look better when you upload it. Lens will automatically crop, straighten and sharpen the image, saving you time and effort.
We created a quick step-by-step guide for you on how to use Office Lens:
Step 1: Install Office Lens on your mobile device and open the app. You will need to give permission for the app to use your camera.
Step 2: Choose one of the three image types to use, either photo, document or whiteboard. Then, point your camera at what you would like to scan.
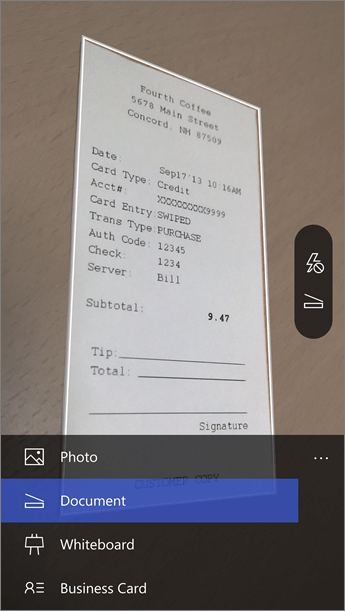
Step 3: Fit the image within the frame provided and press on the shutter button to capture it.
Step 4: Once the image has been processed, choose whether to crop it or, if you’re happy with the outcome, press done to save it. Then choose the destination of the file, either an office app or PDF, email and photo library.

We recommend using one of the office apps (Word, PowerPoint, OneDrive etc) as it can easily be uploaded to your Teams platform.
You can download Office Lens from:
