
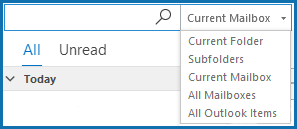
To quickly find an email, you can type it in the search bar shown just above your inbox.

If you’re unsure which mailbox the email is in, click on the Current Mailbox option and choose to search within a selected folder, sub-folder or all of your mailboxes.

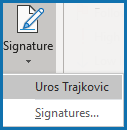
Your emails should contain a signature and to add one is an easy process. As shown above, simply add your preferred details such as your name, position and the company you work for.
Once you have created a signature, it will be provided as an option for whenever you create a new email.

You will find the Automatic Replies option under the Info tab as explained in the navigation section. Once you click on it, you will see the following options.
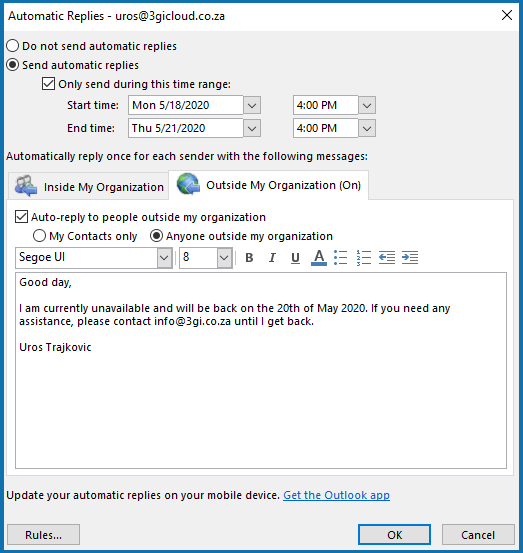
Select send automatic replies, choose a date and choose whether you want the replies to go inside or outside of your organization. Next, type in a message of your choice and click OK. When someone sends you an email, they will get this reply until you are back.
First, go to the New Items button shown under Home and click on Meeting.
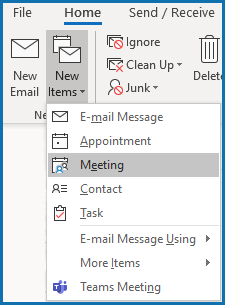
You will see the following meetings window pop up:
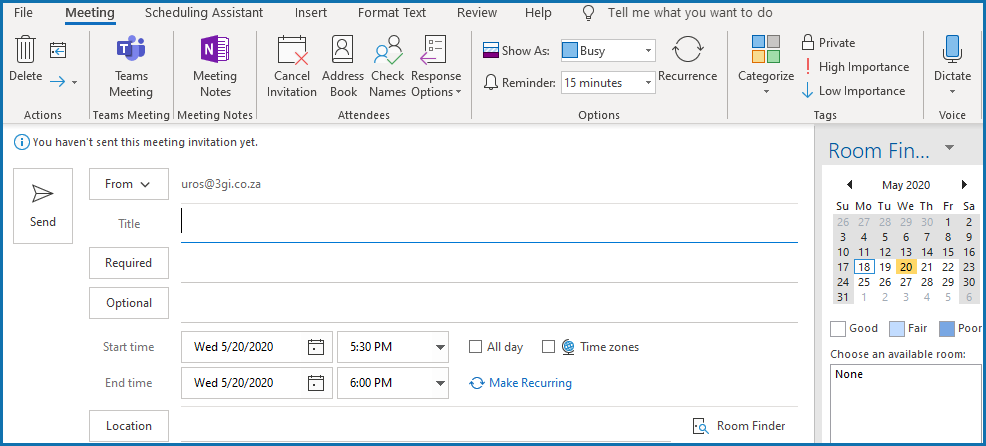
Here you can fill in the meetings details. Choose a title for the meeting, who to invite and select a date and time. You will see available dates and rooms from the right-hand section with colour codes showing you which date would suit everyone.
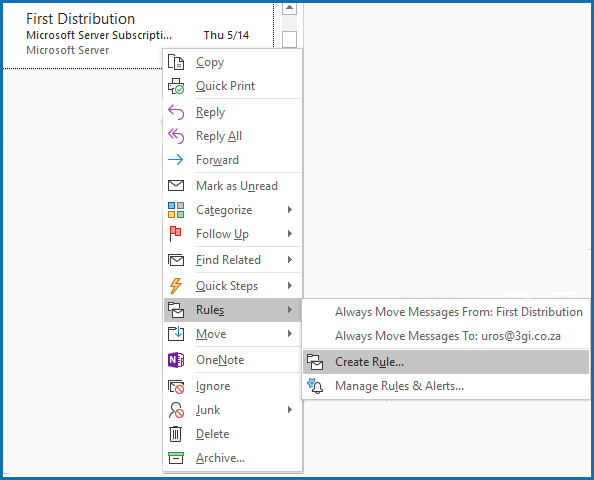
To set up rules for how you receive emails and what Outlook should do with emails with specific subjects or senders, right-click on the email of your choice and select Rules then Create Rule
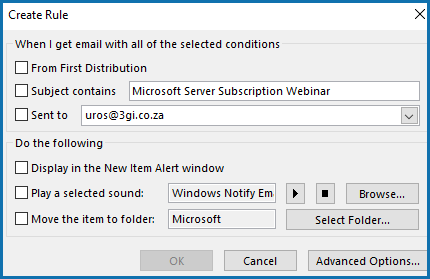
Fill in the details of the rule and what Outlook should do with the same emails in the future. You can choose the emails to be sent to a specific folder or even a different sound to play once you receive them. For more rule options, click on the Advanced Options button and choose what works for you.
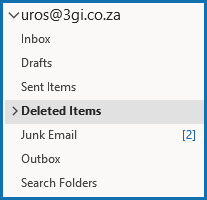
If you have accidentally deleted and item or email that you wish to restore, Outlook makes it very easy for you to do so. Simply go to the Deleted Items folder on the right-hand navigation panel as shown here:
If you have deleted from files from the Deleted Items, there is still an option to recover them. Head over to the Folders tab and click on the Recover Deleted Items button:
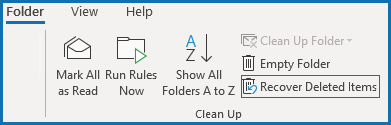
You will then see a list of all the deleted items that you can choose from. Please note that to do this, you must be online and connected to your mail server.
We are all exposed to the odd phishing email or spam, so it’s important to let Outlook know which email senders or domains are typically involved. To mark an email as Junk, simply right-click on it and click on the Junk option:
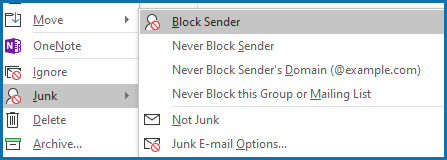
You can choose to quickly block the sender or add it to your Safe Senders list. For more choices, click on the Junk E-mail Options button.

Here you can select additional options and review your previous additions to safe or blocked senders. You can customize it to your preferences.
Microsoft Outlook is available with both personal and business Microsoft 365 packages. If you would like to view the package details, you can find them here.
You can also create a free outlook account from the Microsoft website, but it does not include all the features and integrations.
If you already have a Microsoft 365 subscription then you can access Outlook Web here by signing in with your Microsoft account details.
Outlook is already available on Windows machines so you can simply search for it and begin the log in process. If you would like to download Outlook on your Mac, you can begin the download here.
Click on one of the following buttons to take you to the download page for your preferred device: